
Please read this tutorial and this tutorial first.
Game version used in this tutorial: v2.10.0
Windows x64
This tutorial will guide you through modifying images stored in a SpriteAtlas.
If you have already tried modifying most images other than character sprites using the method described in the advanced tutorial, you probably noticed that it barely works for them.
This is because those images are packed using the SpriteAtlas method. A major reason is that the file references no longer match correctly.
After completing this tutorial, you should be able to modify most in-game images without being limited by the original image size.
IMPORTANTModding may introduce unknown risks, including game instability, save corruption, compatibility issues, and even security vulnerabilities. Always back up your game files and proceed carefully.
You assume all risks — I cannot take responsibility if problems occur.
IMPORTANTThis workflow is very complex and tedious. Please read every step carefully. If you encounter problems, you can open an issue to ask for help.
Step 1️⃣
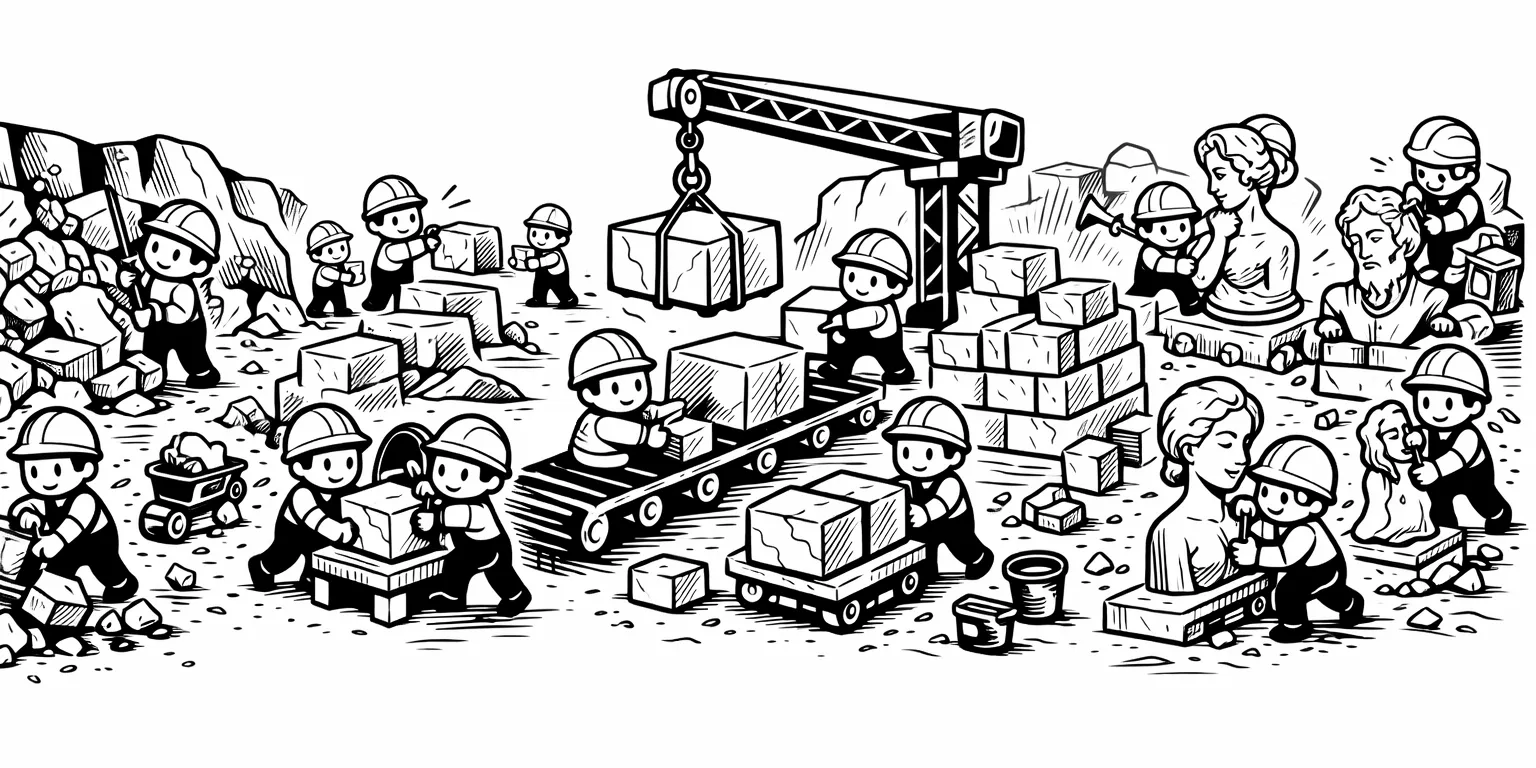
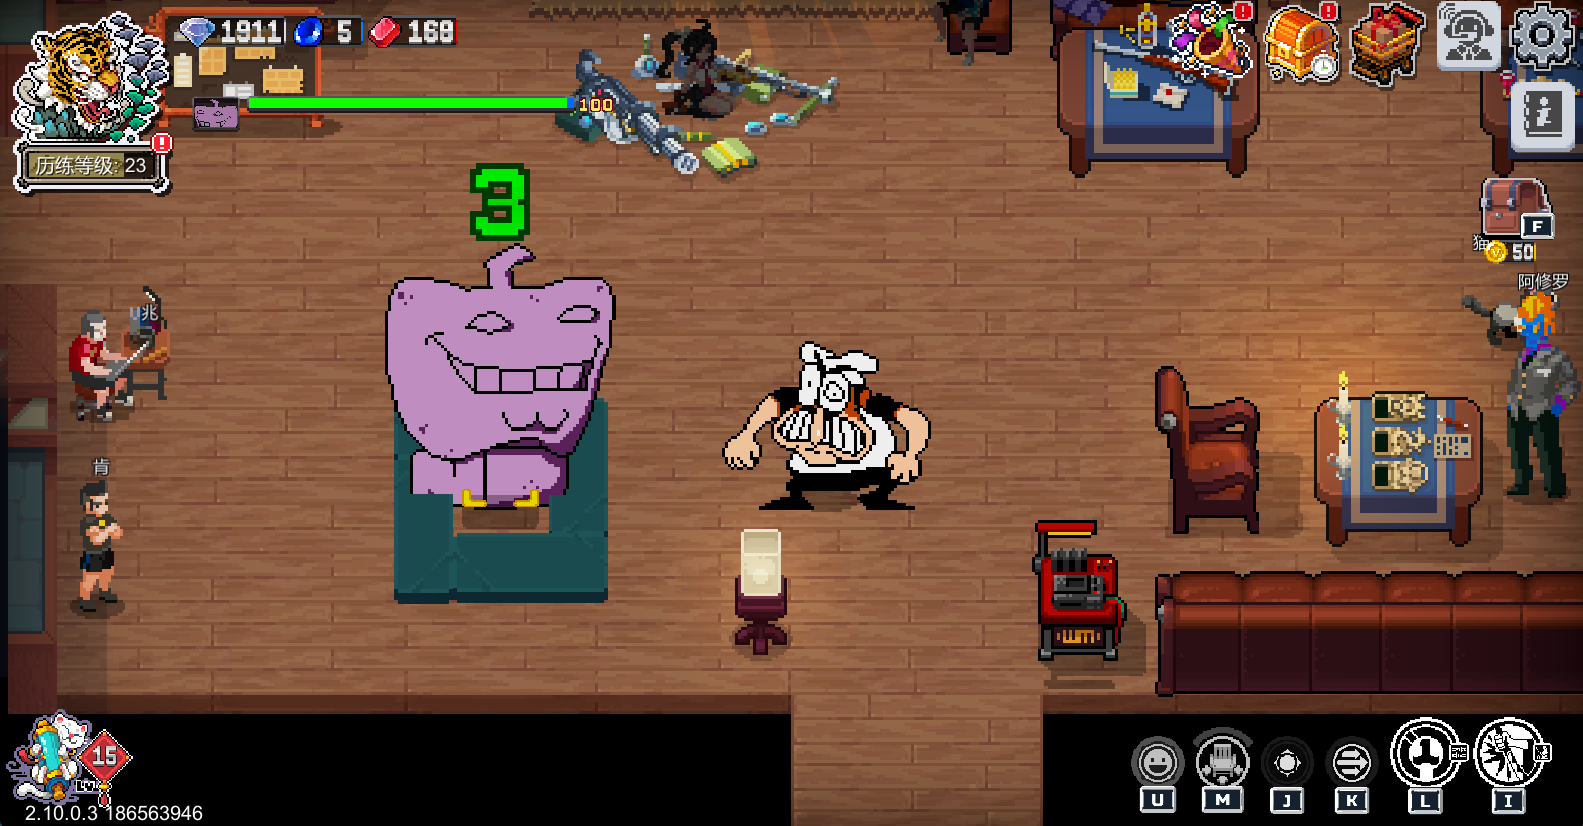
In this tutorial, we’ll use the sandbag in the living room as an example.
(On my computer, its file path is:)
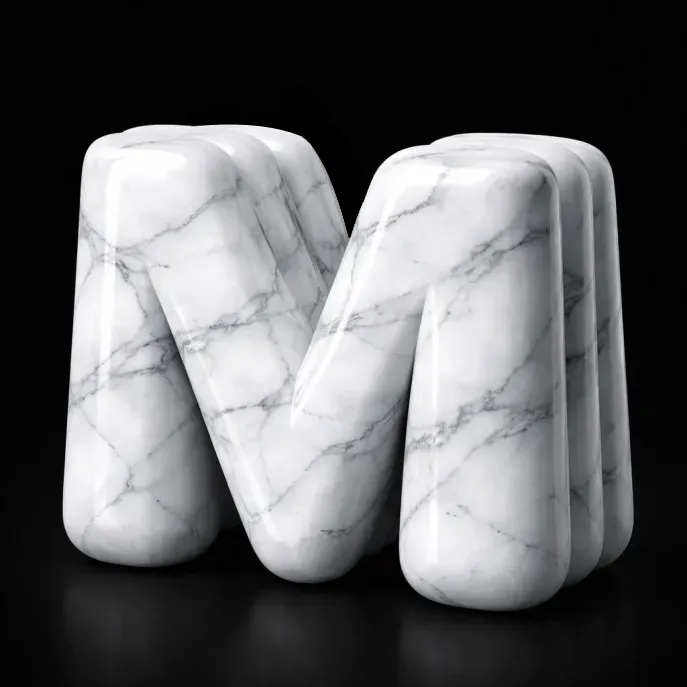
C:\Program Files (x86)\Steam\steamapps\common\Otherworld Legends\Otherworld Legends_Data\StreamingAssets\aa\StandaloneWindows64\graphiceffecttextureseparatelygroup_assets_assets\sprites\unit\unit_other_pile.psd_0678876b821c494df01ee1384bec84f2.bundleHere is the image we want to replace it with:
Next, open the Unity project from the advanced tutorial and locate the Texture2D folder.
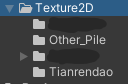
I recommend putting the previous tutorial (about the Asura boss) into a different folder. Then create a new folder, for example named Other_Pile.
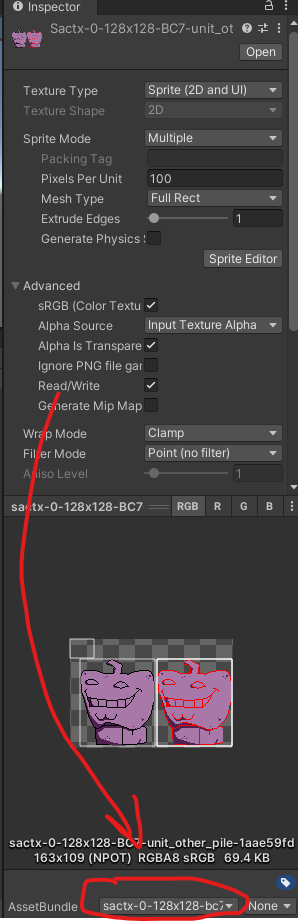
Put the image you want to replace into the Other_Pile folder, then modify its parameters in the Inspector.
Make sure:
- Texture Type = Sprite (2D and UI)
- Sprite Mode = Multiple
- Mesh Type = Full Rect
- Generate Physics Shape = Off
- Read/Write = On
- Filter Mode = Point (no filter)
- Compression = None
- Click Apply
This time, we will manually edit the spritesheet (Slice Sprites). Click Sprite Editor.
First is the sandbag base. Since we don’t have a base here, just draw a rectangle in any empty area.
Be sure to use the exact same name as shown in the example.
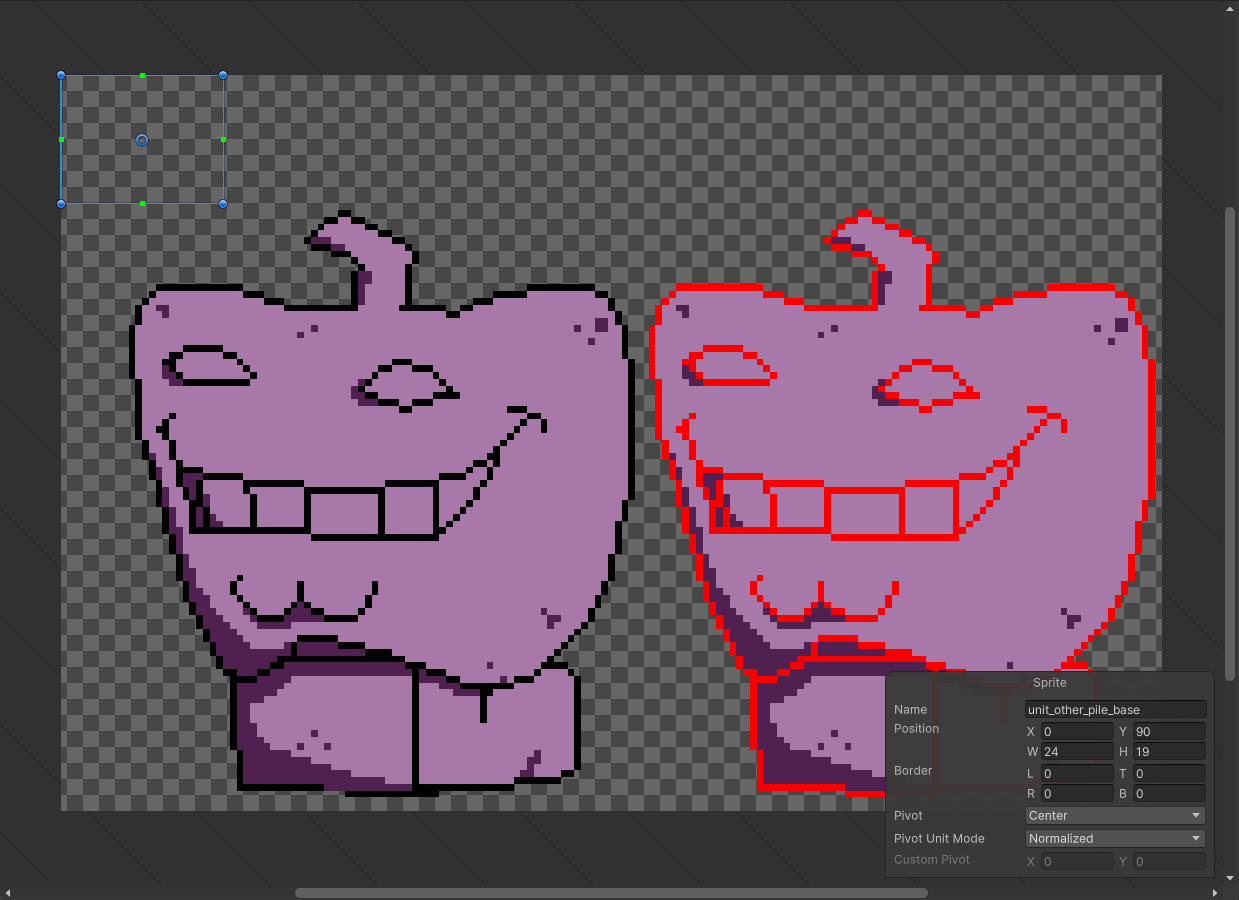
Next is the first frame of the sandbag. Draw the rectangle over the statue on the left.
Make sure to set the Pivot to Bottom Center.
You can also use Custom if you know how.
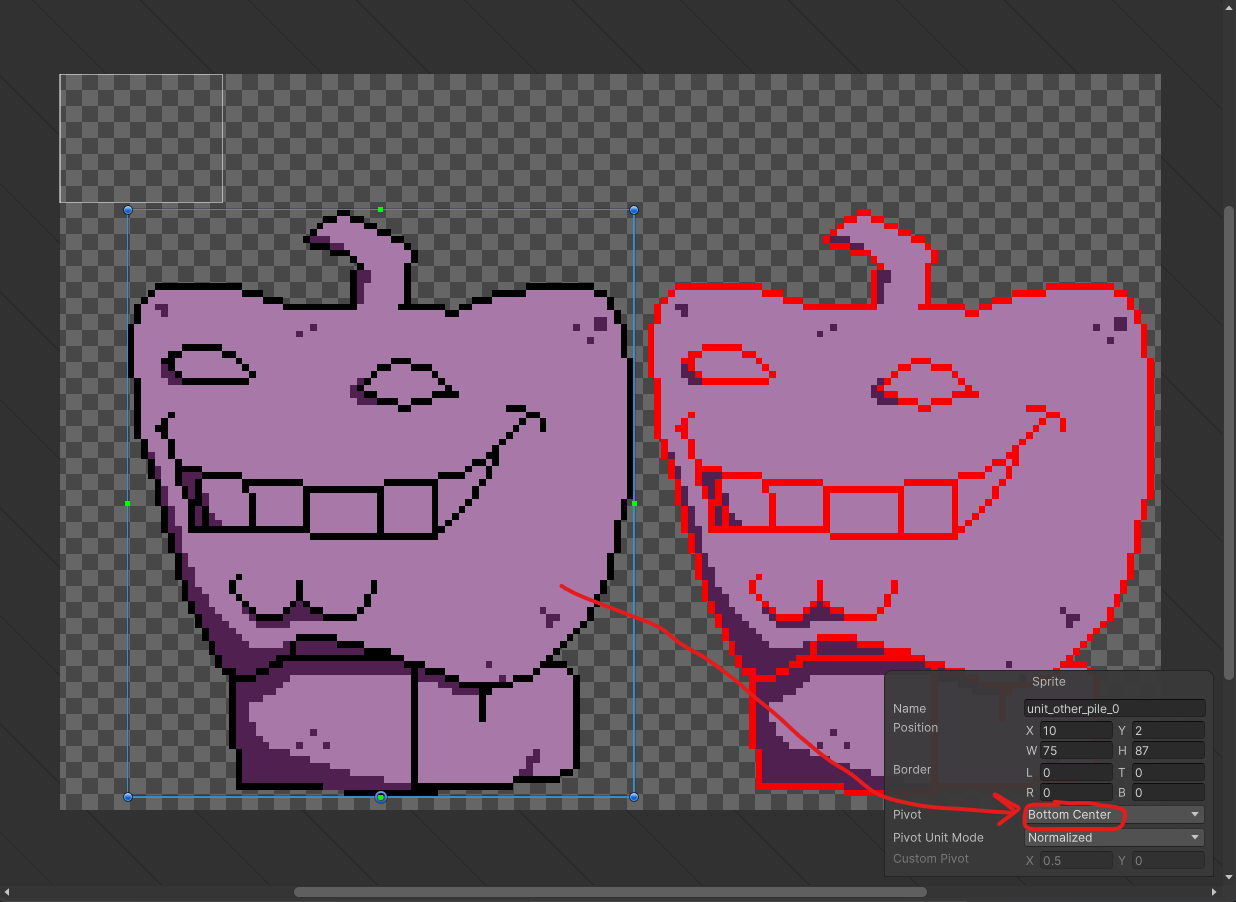
There are seven more frames. Draw all of them on the statue on the right.
Again, set the Pivot to Bottom Center.
Name them according to the image below.
After finishing, click Apply. You should see the same sprites as shown in the picture.
Step 2️⃣
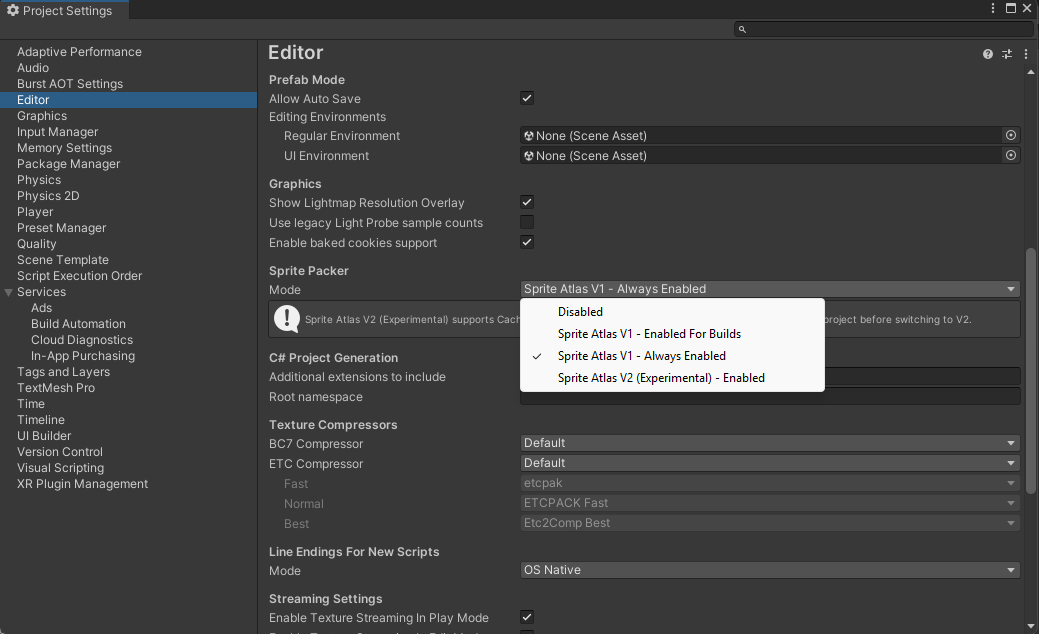
In Unity Project Settings, find Sprite Packer → Mode and set it to:
Sprite Atlas V1 – Always Enabled
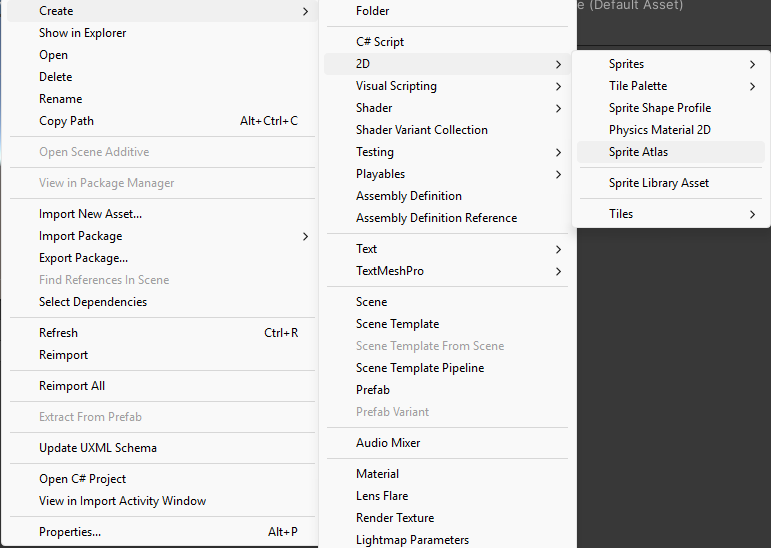
Next, right-click in the Texture2D folder and create a Sprite Atlas.
Name it: unit_other_pile
Adjust its settings:
- Filter Mode = Point
- Compression = None
- Drag all the sliced sprites into Packables
(⚠️ It seems you can only add them one by one, but there aren’t many, so it’s fine.)
Now the most important part — just like before, we need to build this file.
Name it:
sactx-0-128x128-bc7-unit-other-pile
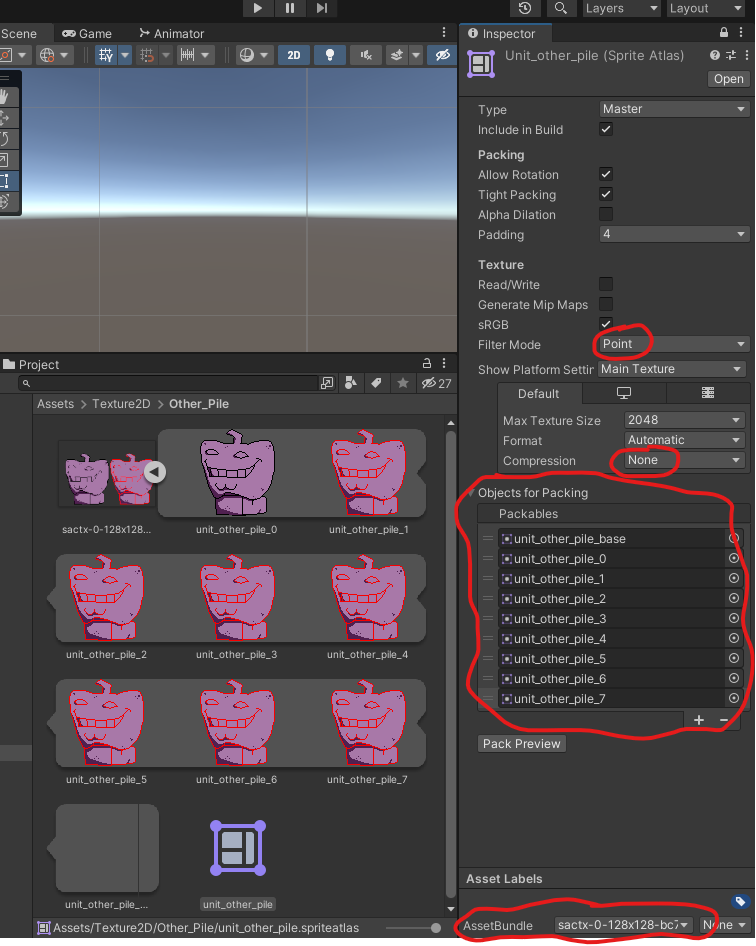
Also, put the original Texture2D into the atlas as well.
Then run Tools / Build Bundles (the script provided in the previous tutorial).
Check whether the new file is generated.
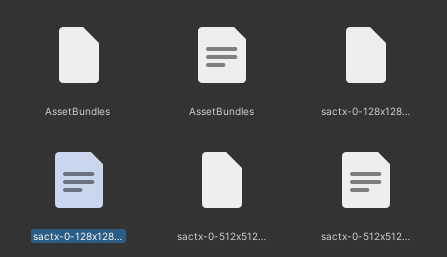
Step 3️⃣
Next, we need to solve the file reference problem.
This part can be hard to understand and requires repeated operations.
First, take a look at the diagram I made. If you don’t understand it now, that’s okay — it will make sense later.
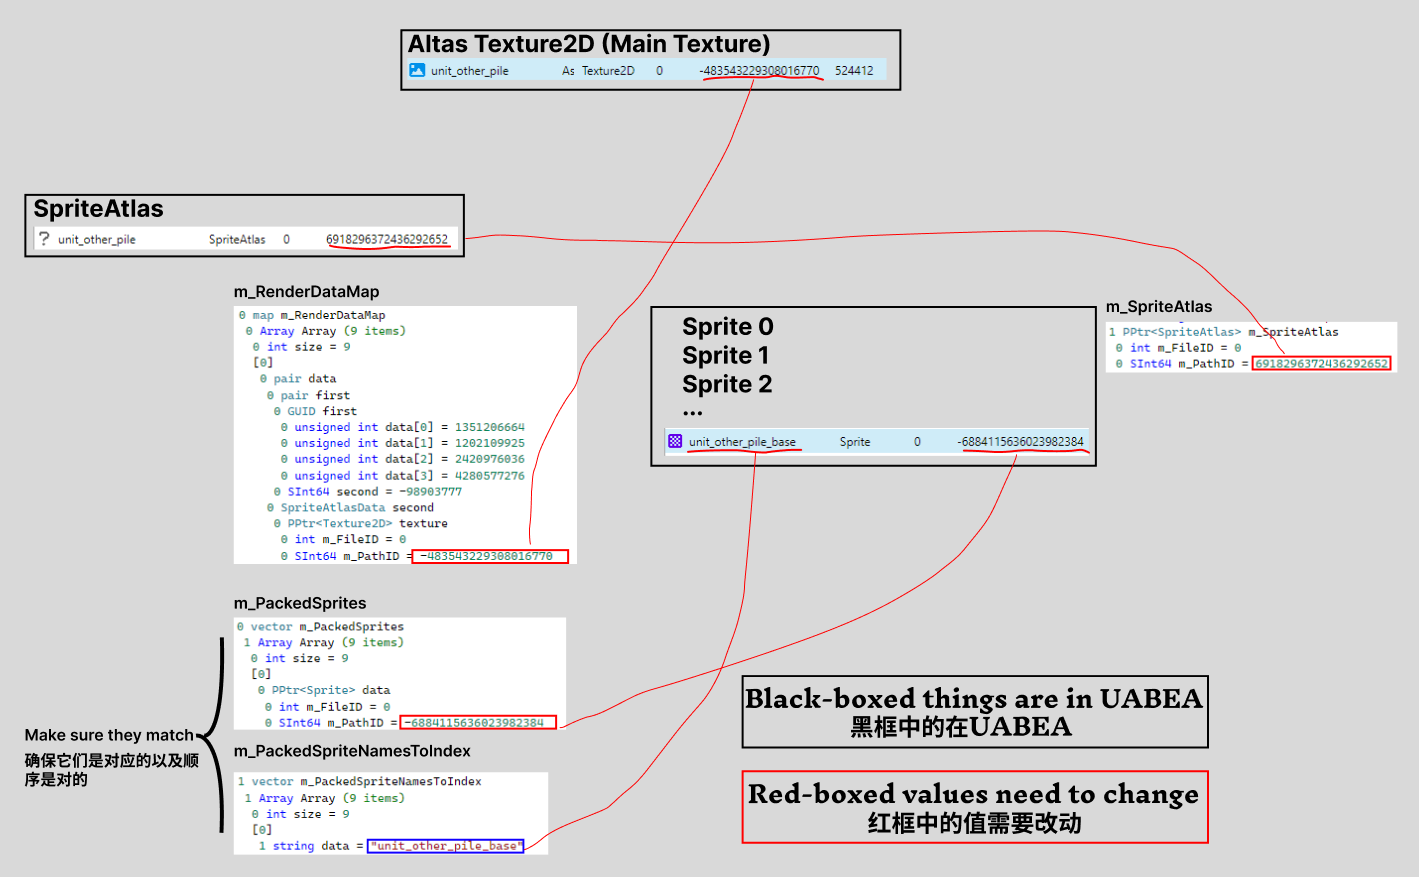
Unity uses signed integers (can be positive or negative) as references for textures.
You can think of them as IDs.
Our goal is to modify the IDs inside the AssetBundle we generated so the game can correctly find these resources.
Specific steps
Open UABEA and load the AssetBundle we just built.

Select all SpriteAtlas and Sprite entries and Export Dump.
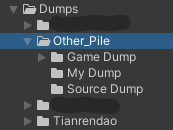
Put them into a folder inside Unity called My Dump.
I recommend organizing this Dumps folder just like the Texture2D folder. This helps a lot when working on multiple mods.
This time we don’t actually need Game Dump or Source Dump, because we will manually edit these text assets.
Open these dumped files in any text editor and prepare for the next step.
Open a new UABEA window and locate the sandbag bundle from the game files.
C:\Program Files (x86)\Steam\steamapps\common\Otherworld Legends\Otherworld Legends_Data\StreamingAssets\aa\StandaloneWindows64\graphiceffecttextureseparatelygroup_assets_assets\sprites\unit\unit_other_pile.psd_0678876b821c494df01ee1384bec84f2.bundleNOTEEverything inside the black boxes in the diagram is opened in UABEA.
Everything outside the black boxes is what you will modify in My Dump.
When exporting dumps, you obtained two file types: SpriteAtlas and Sprite.
Modify the dumps
- In the SpriteAtlas dump, find:
m_RenderDataMap / m_PathID
Change it to match the Main Texture ID.
(If there are two Texture2D entries, select the one that is NOT sactx.)
- In the SpriteAtlas dump, find:
m_PackedSprites
This is an array. Modify every Sprite entry and change each m_PathID to the corresponding Sprite file ID.
⚠️ Order matters — it controls animation order.
Check:
m_PackedSpriteNamesToIndex
The data field maps sprite names to indices. Match your m_PathID accordingly.
- In each Sprite dump, find:
m_SpriteAtlas / m_PathID
Change it to the SpriteAtlas ID currently shown in UABEA.
After these edits, the files in My Dump are ready to replace the original game data.
Step 4️⃣
This step is similar to previous workflows.
In UABEA (with the original game bundle open):
- For the
sactx...Texture2D, use
Plugins → Edit Texture to replace it with the statue image from Unity. - Use Import Dump to replace the SpriteAtlas with the modified dump.
- Use Import Dump to replace all Sprite dumps with the modified ones.
Final texture replacement
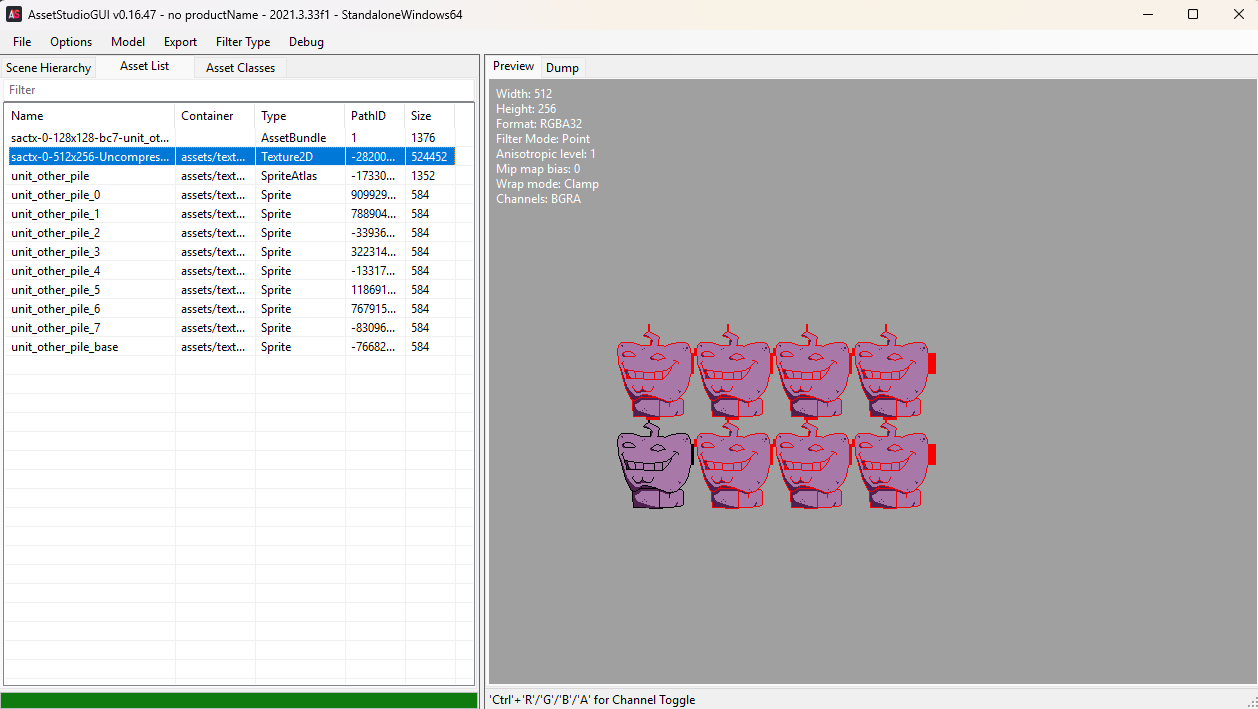
Open AssetStudio and load your generated bundle.
Find the Texture2D that starts with sactx.
Choose Export → Selected Assets, and save it into the Texture2D folder.
Open UABEA again and load the original sandbag bundle.
Use Plugins → Edit Texture to replace the Main Texture
(⚠️ NOT the one starting with sactx).
Finally, run Step 5 of the basic tutorial (addrtool) — and you’re done.
💗 If you liked this blog, consider following me on GitHub.
👾 Happy Gaming 👾